| Article #: GEN1003CE | Product: Flare Online | Version: Production |
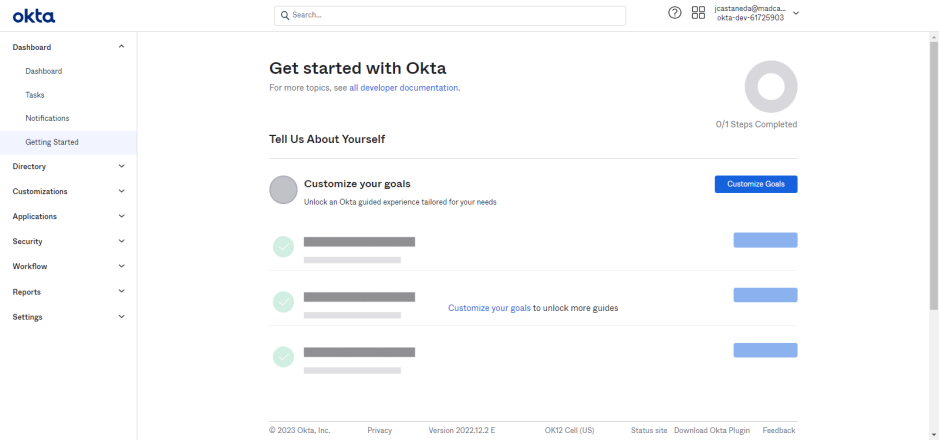
When you log in to your Okta Admin Portal account, this is what it looks like:
Go to Directory > People to add users to the IdP.
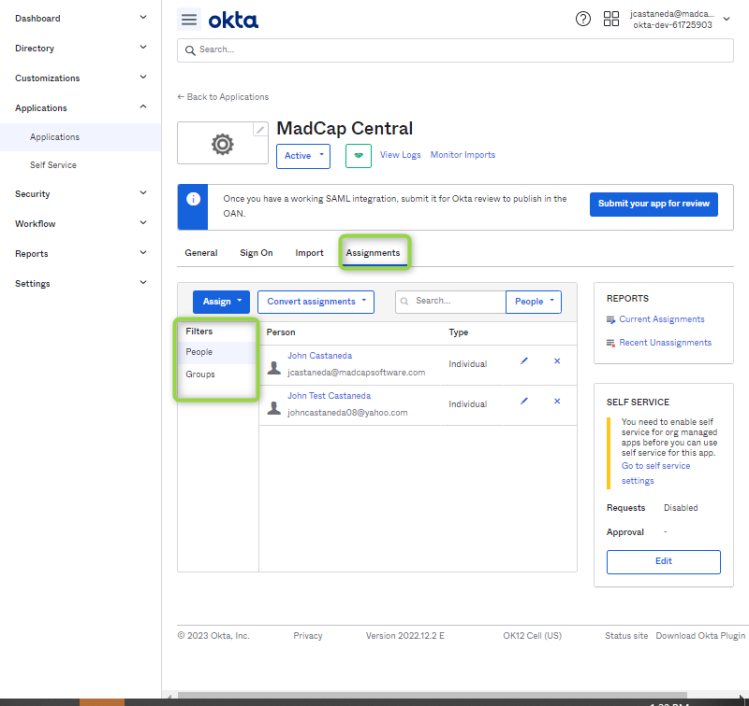
Tip: Make sure to add Users or Groups to the Application through Assignments.
-
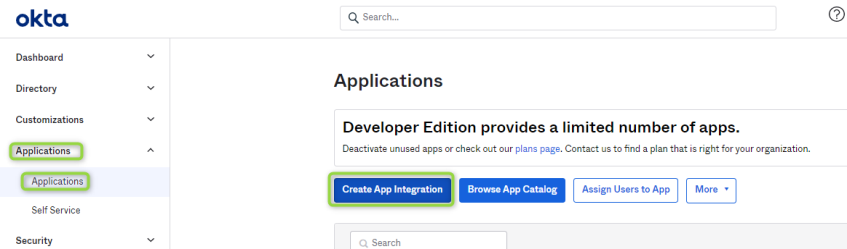
Go to Applications > Applications and select Create App Integration
-
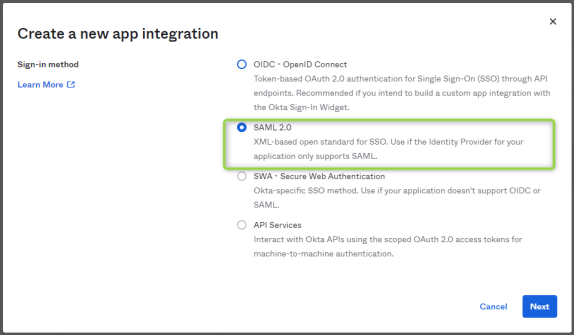
Select SAML 2.0 and click Next
-
Choose an App name. In this case, I chose "MadCap Flare Online"
-
Click Next
For Single Sign On URL, follow this format to set the login page URL:Copyhttps://[vanity].madcapcentral.com/#/login
Tip: Keep the 'Use this for Recipient URL and Destination URL' option checked.
For Audience URI (SP Entity ID), follow this format to set their Flare Online Site URL:
Copyhttps://[vanity].madcapcentral.com/-
Leave Default RelayState blank
-
Name ID format is set to 'Unspecified'
-
Application username is set to 'Okta username'
-
Update application username on is set to 'Create and update'
-
-
Click 'Show Advanced Settings':

Here, add the SAML Endpoint for Portal and Single Log Out (SLO) in 'Other Requestable SSO URLs' section.
The values for SAML Endpoint for Portal should look like this:
Copyhttps://[vanity].api.madcapcentral.com/api/users/SamlLoginSucceededThe values for Single Log Out (SLO) should look like this:
Copyhttps://[vanity].madcapcentral.comTip: If they also want to add the SAML Endpoint for Sites, they would also add it here.
The SAML Endpoint for Sites should look like this:
Copyhttps://[vanity].mcoutput.com/api/users/SamlLoginSucceeded(Optional) For mapped domains/CNAME, please try this SAML Endpoint URL:
Copyhttps://[host mapped domain]/api/users/SamlLoginSucceededTip: Make sure the Index values are different for each entry.
Tip: Leave the rest of the values at the bottom of this page set to their default values.

- Click Next
- When you are prompted with "Are you a customer or partner?", it does not matter what the user's answer is. After selecting either answer, clickFinish.
The MadCap Flare Online Application in Okta is now ready.
MadCap Flare Online Portal SSO setup
Next, connect this Application to the users' MadCap Flare Online License.
-
On the top right-hand side, select the License Icon
-
Select License Settings

-
Select Single Sign-on
[Beta] -
Select Change Settings
-
Check Enable SSO for Flare Online login option

-
Now you can set the values for SAML 2.0 Login Endpoint (HTTP), Identity Provider Issuer and Public Certificate
- The information needed for the next fields can be found in Okta Portal > Applications > Applications > Sign On tab > View SAML setup instructions:

We should see this page here:
Use this information to fill out the fields in Flare Online portal. Once the steps below are complete, click save and your SSO setup is complete.
Tip: The SLO Logout Endpoint is optional.
-
Set SAML 2.0 Login Endpoint (HTTP) to Identity Provider Single Sign-On URL
-
Set Identity Provider Issuer to Identity Provider Issuer
-
Set Public Certificate to X.509 Certificate
Tip: Be sure to include the entire certificate, including all of the dashes.

- The information needed for the next fields can be found in Okta Portal > Applications > Applications > Sign On tab > View SAML setup instructions:
Attribution:
|
Last updated: January 14, 2026 |
Author: John Castaneda |
Contributions by: John Castaneda John Dela Cruz |